

Sunday night for many teachers looks like this: a Word lesson-plan file open, the curriculum PDF in another window to copy indicators from, a browser searching for a worksheet that fits, and after the lesson, the post-lesson notes end up in another notebook or never get written because days have passed.
Teacher Desk puts these four things on one page per class: the plan for that period, its indicators, the materials and the post-lesson notes. This article walks through each step from opening a class to exporting post-lesson notes as a Word file. Once you know what the period will cover, filling in one plan takes about five minutes.
Before you start, check three things
- The class in Teacher Desk must be a subject class with a grade and a learning area, such as ป.3/2 Mathematics, because the indicator list is filtered by both.
- The system currently holds core-curriculum indicators for four learning areas: Thai, mathematics, science and foreign languages (English). Mathematics and science follow the 2560 revision. For other learning areas the plan page says there are no indicators for that grade and area yet, and you can still write plans and notes as usual.
- Teacher Desk uses the same account as the Krufahda shop. Worksheets you have bought or claimed on that account show as already yours in step 4.
Step 1: open the class and go to the lesson plans tab
In Teacher Desk choose a class and open the lesson plans tab. The first view is this week's plans, with columns for day, period, topic, indicators, materials and status. You see straight away which periods are prepared and which are empty. Press add plan at the top to start a new one.
Step 2: date, period, topic and the four plan boxes (2 minutes)
The first three fields are date, period and topic. Topic is the only required field. Name it so another teacher knows what the period covers: fractions, halves, thirds and quarters is better than maths period 3.
Next come four boxes: learning objectives, learning activities, assessment, and notes on materials and equipment. Keep them short. Write what children will be able to do by the end of this period, such as shade a picture to show one quarter correctly. Do not copy the indicator text in, because the indicator is attached separately in the next step.
Step 3: choose indicators (1 minute)
The indicators section lists the indicators for the class's grade and learning area. Type a code or a word in the search box to filter. For a Grade 3 mathematics class, typing เศษส่วน (fractions) shows the Grade 3 fraction indicators, including ค 1.1 ป.3/3, saying, reading and writing fractions that show quantities, and showing quantities for a given fraction.
Tick the indicators this period actually teaches, usually one or two. Five ticks for one period means it touched everything and finished nothing, and the plan reads worse when a supervisor or the academic office opens it.
Step 4: press suggested materials and add them to the plan (1 minute)
Each indicator has a suggested materials button. Press it and the materials section shows the worksheets linked to that indicator. Each item is labelled already yours or not yet. Already yours means you can use it now, whether bought singly, in a pack, or claimed from the member library. Items you do not have yet have a buy button that opens the product page in the shop.
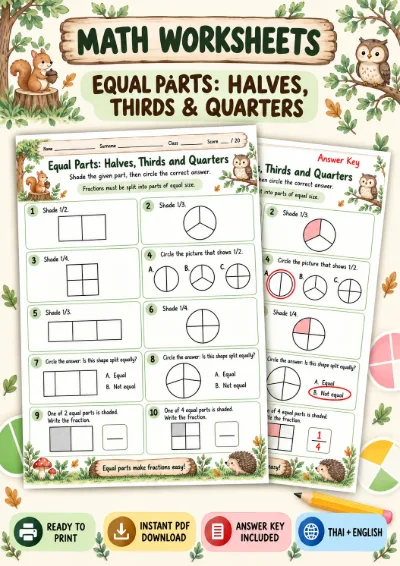
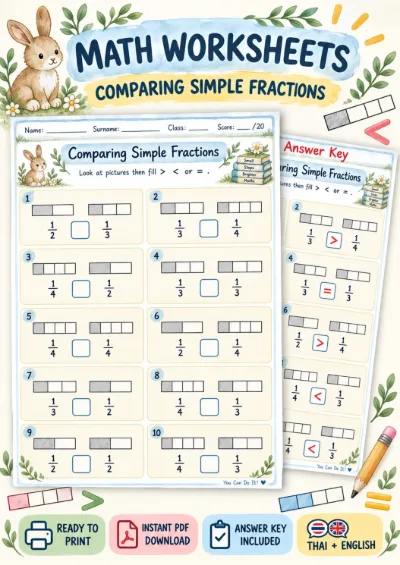
In the example, ค 1.1 ป.3/3 leads to the equal parts worksheet, halves, thirds and quarters, shade and choose. If the next period covers comparing fractions, ค 1.1 ป.3/4 leads to the comparing simple fractions worksheet. Press add to plan and items line up in the order you add them.
Some indicators have no linked worksheet yet and the list is empty, which is normal. Add your own materials in the field for links or equipment you prepare yourself, such as the link to an AR game for end-of-lesson review, or homemade fraction cards.
Step 5: save the plan
Press save plan. The status becomes planned and the plan appears in the week's table. The today page in Teacher Desk shows the day's periods from your timetable with the plans written for them, and also the periods with no plan, so in the morning you see at once which periods are not prepared.
Step 6: after teaching, write the three-box note
Open the plan for the period you just taught. The post-lesson notes section has three boxes: teaching outcome, problems and obstacles, and next steps. Press save post-lesson notes and the status changes to taught. If there is nothing to note but the lesson did happen, use the mark as taught button.
The notes are stored separately from the plan, so editing the plan's activities later does not wipe them. The note fields are encrypted in the system, but if you need to write about a child who is behind, use the register number rather than the full name, because exported files may pass through many hands.
Write right after the lesson or at least the same day. Three lines written while you remember are worth more than three paragraphs written at the end of the week.
Step 7: teaching several classes, copy the plan instead of rewriting
If you teach ป.3/1 and ป.3/2 the same topic, use the copy plan section on the plan page. Choose the target class, date and period and press copy to selected date. Topic, indicators, activities and materials are copied, but the post-lesson notes are not, because notes belong to one class on one day. The copy always starts as planned, so the second class's plan takes under a minute.
Step 8: export post-lesson notes as a Word file
On the class's lesson plans page, the export post-lesson notes button downloads a Word file for the week you are viewing. It contains only periods marked taught, set in TH SarabunPSK as paragraphs by day. Untaught plans are left out, since there is nothing to record yet.
Every school's post-lesson form is different. The Word file is editable, so adjust the header or add signature lines as your school requires before handing it in.
Where the five minutes go
The five minutes break down like this: two minutes on the topic and short plan boxes, one minute choosing indicators, one minute pressing suggested materials and adding them, and one minute spare for edits. The first plan of a new unit may take longer because you are designing the activities, but later periods in the same unit, and a second class using copy, are much faster.
Common mistakes when starting out
- Ticking every related indicator: the plan looks complete but does not say what this period teaches. Choose only what this period enables children to do.
- Copying the indicator text into the objectives box: objectives should be what children can do by the end of this period, always narrower than the indicator.
- Saving post-lesson notes for the end of the month: the most useful details, such as which question most children got wrong, are gone within days.
- Forgetting to mark lessons as taught: periods without taught status are left out of the exported Word file.
Worksheets from this article
Grades 1–3 (P.1–P.3)
Equal Parts: Halves, Thirds and Quarters - Shade and Choose
Grades 1–3 (P.1–P.3)