

Plenty of Grade 2 children can do 7 + 5 quickly on their fingers, then meet 42 - 17 and confidently write 35. The problem does not start with borrowing. It starts in Grade 1, when a child still sees numbers as counting in ones and has never seen ten ones turn into one ten.
This article lays out addition and subtraction as six steps, each one the foundation for the next. It follows the Thai core curriculum, which widens the number range every year: within 100 in Grade 1, within 1,000 in Grade 2 and within 100,000 in Grade 3. When a child gets stuck on a step, go back a step rather than giving more practice on the same one.
Step 1: See numbers as groups, not ones
Before addition can be fluent, a child needs to see 5 as one chunk without counting. The simplest tool is a ten-frame: draw two rows of five boxes on paper and use bottle caps as counters. Show seven caps for two seconds, cover them, and ask how many there were. A child who answers without counting will say something like "the top row is full and two more". That is the start of thinking in groups.
Play it for three to five minutes at the start of a lesson until children can say at once how many caps are in the frame and how many more are needed to make ten. That second question leads straight to step 2.
Step 2: Number bonds to ten, known by heart
1 and 9, 2 and 8, 3 and 7, 4 and 6, 5 and 5. These pairs are used again and again, right up to carrying and borrowing. If a child still needs fingers for 7 + ? = 10, everything after this will be hard. Practise with the ten-frame and with quick oral call and response: the teacher says "three", the class says "seven".
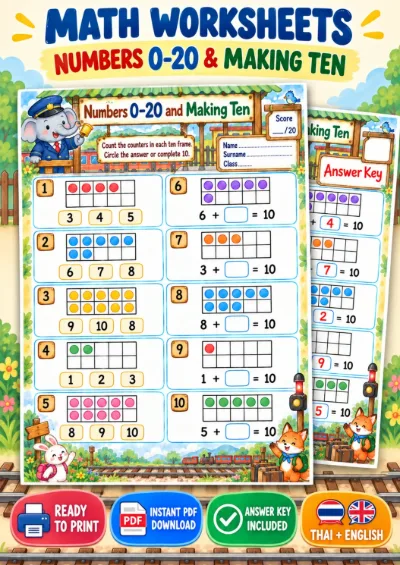
The Grade 1 AR set "Make ten" in the site's game library asks exactly this, for example 6 + ? = 10 and 9 + ? = 10, and works as a five-minute review. The worksheet on numbers 0 to 20 and making ten has children count dots and fill up to ten on paper, which suits homework or children who still need to see the picture first.
Step 3: Subtraction as finding the missing part
Most children only know subtraction as "take away". That is correct but not enough. The second meaning is "how many more to make it whole": 10 - 7 can be thought of as what 7 needs to reach 10, which the child already knows from step 2. The answer explanations in the AR review set for adding and subtracting within ten use exactly this reasoning: ten minus seven is three, because seven plus three is ten.
Teach fact families. One set of three numbers gives four sentences: 7 + 3 = 10, 3 + 7 = 10, 10 - 7 = 3 and 10 - 3 = 7. Have children build their own families with bottle caps. They see that addition and subtraction are the same relationship seen from two sides, and they can check a subtraction with an addition from Grade 1 onwards.
Step 4: Bridge through ten by filling up first
8 + 5 is one of the first sums that runs out of fingers. Instead of counting on in ones, fill 8 up to ten first: split 5 into 2 and 3, so 8 + 2 = 10 and 10 + 3 = 13. Subtracting across ten works the same way in reverse: for 13 - 5, split 5 into 3 and 2, take 3 to reach 10, then take 2 more to get 8.
This uses the bonds from step 2 directly. A child who cannot do this step is usually not stuck here at all; their bonds to ten are not yet secure. Spend another week on bonds and come back.
Step 5: Place value before column methods
Before teaching column addition, have children bundle straws or lolly sticks into tens with rubber bands. 47 is 4 bundles and 7 loose sticks. Ask back and forth: "What is three bundles and two sticks?", "How many bundles in fifty-one?" until children can say that the 4 in 47 means forty, not four.
Skip this step and carrying becomes a memorised rule, "write the second digit, carry the first". Children can follow it without knowing why, and it tends to break down with three-digit numbers in Grade 3 or with a zero in one of the columns.
Step 6: Carrying and borrowing are exchanging bundles
Once children understand bundles of ten, carrying is simply collecting loose sticks until there are ten and tying a new bundle. An example from the AR set on two-digit addition with carrying is 28 + 15. In the ones, 8 + 5 = 13, which is one bundle and 3 sticks. Write 3 in the ones and move the new bundle to the tens: 2 + 1 + 1 = 4, giving 43.
Borrowing is untying a bundle. In 42 - 17 there are only 2 ones, so 7 cannot be taken away. Untie one of the 4 bundles to get 10 more ones, making 12. 12 - 7 = 5. Three bundles are left in the tens, and 3 - 1 = 2, giving 25. Have children do at least three or four of these with real straws before working with digits alone.
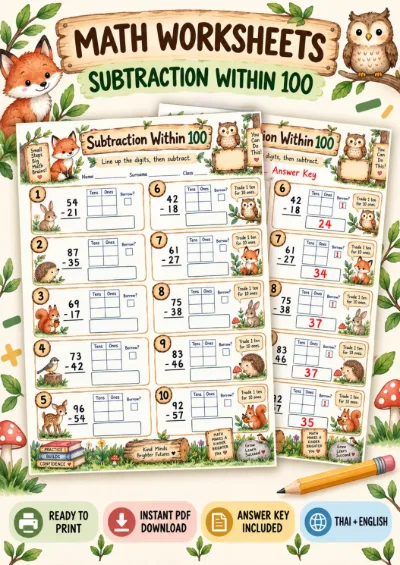
Once the physical version is fluent, move to paper. The worksheet on column subtraction within 100 and the Mini Film Set teaching slides on two-digit addition and subtraction fit this step.
Common mistakes and what each one tells you
Children's mistakes are not random. Each type points to a specific misunderstanding. Take 50 - 23, where the correct answer is 27. In the Grade 2 AR set on subtraction with borrowing, this question offers the wrong answers 33 and 37, and each comes from a different misconception.
- Answer 33: subtracting the smaller digit from the larger in every column. In the ones the child sees 0 and 3 and works out 3 - 0 = 3. They do not yet know the bottom number is always taken from the top. Go back to step 6 with real straws.
- Answer 37: borrowed and correctly worked out 10 - 3 = 7, but forgot to reduce the tens from 5 to 4. The child can follow the procedure but does not see borrowing as untying one bundle. Have them cross out the tens digit and write the new one above it every time until it becomes a habit.
- Forgetting the carried ten: 28 + 15 becomes 33 instead of 43. Write the small carried digit above the tens every time, and estimate first: 28 is nearly 30, plus 15 should be about 45, so 33 must be wrong.
- Misaligned columns: in 35 + 4 the 4 is written under the 3, giving 75 instead of 39. Use squared paper or draw a line between the ones and tens before writing.
- Reading = as "the answer is", so 10 = 7 + ? looks impossible. Explain that = means both sides have the same value, and practise missing-number equations where the unknown can sit in different positions.
Checking real understanding, not just right answers
A child who gets everything right may simply be good at following steps, and a child who makes a few slips may understand perfectly well. Separating the two does not take long.
- Ask for one explanation: "Why are there only 4 tens left?" "Because I untied a bundle" shows understanding. "Because the teacher said to take one off" shows a memorised step.
- Check backwards: after 50 - 23 = 27, check with 27 + 23 = 50 every time. Children start catching their own mistakes without waiting for marking.
- Find someone else's mistake: write a worked example with an error on the board and ask where it went wrong and how to fix it. A child who can find and explain the error understands more deeply than one who just gets the answer.
- A three-question exit ticket: one without regrouping, one with carrying or borrowing, and one with a zero such as 50 - 23. Sort the tickets by which question went wrong and start the next lesson with the group that needs to go back a step.
Use games for the whole class and worksheets for each child
If you review with an AR game in Classroom Mode, the end-of-lesson summary shows how many answered each question correctly and incorrectly. The most-missed question tells you at once which misconception is most common in the room. It is a class-level picture, though, not a per-child one, so finding out who needs to go back which step still calls for a worksheet or exit ticket.
Parents at home do not need to teach column methods themselves. Practise bonds to ten in the car, let your child work out the change when you shop, use beans or bottle caps instead of straws, and ask "how did you work it out?" more than "what did you get?". If your child's method is not the one you learned, there is no need to correct it, as long as the answer is right and they can explain it.
Worksheets from this article
Grades 1–3 (P.1–P.3)
Numbers 0-20 and Making Ten - Count and Make Ten
Grades 1–3 (P.1–P.3)
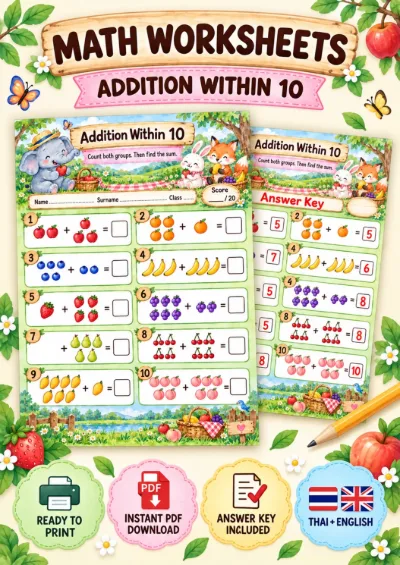
Addition Within 10 - Count and Add
Grades 1–3 (P.1–P.3)
Subtraction Within 100 - Column Subtraction
Grades 1–3 (P.1–P.3)
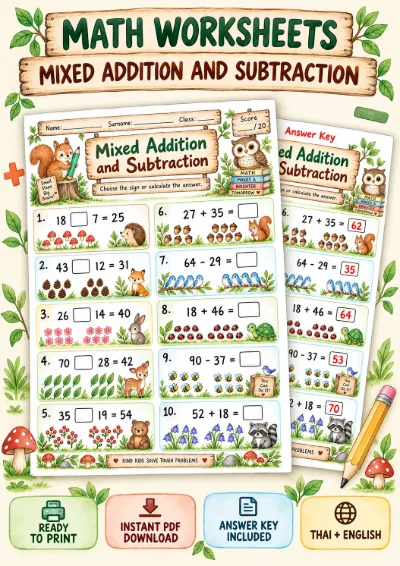
Mixed Addition and Subtraction - Choose the Sign
Grades 1–3 (P.1–P.3)
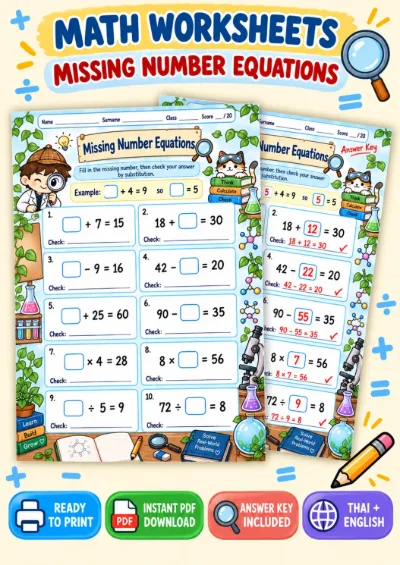
Missing Number Equations - Solve and Check

Grades 1–3 (P.1–P.3)